Wednesday 19 September 2012

Hi there!

I just had to show you how great our God is!  He gave me a perfect heart in my garden! Isn't it pretty?  I did not plan it this way, it was just given to me!
Even my youngest son saw it and came in asking me if I saw the heart.....I told him I already took a photo!
I suppose we pass many of these small things daily without noticing it.....
Enjoy your week!
I start working night duty again tonight......

                                 Love
                                  Sandra
                                    xxxx

project 88......making a 'wrap'

My kids just love KFC's wraps, but they are expensive for three teenage boys!  One is just not enough!  So I started making my own!  With my grandmothers pancake recipe as I did not have time to make a more complicated recipe!  Seeing that my eldest enjoy them(he is not a pancake guy!), I kept on using this recipe.  I make them slightly thicker than a normal pancake.

I use:
1 cup of flour
1 cup of milk
1/2 cup of water
a pinch of salt
12.5 ml oil
1/2 tsp baking soda
1 egg
Mix everything and allow to stand for about half an hour before making your pancakes.  This recipe can be doubled, tripled, whatever!  It hardly ever flops!

I then spread the pancakes with mayonaise, add my filling...chicken and porkstrips are always favourites....mixed with lettuce leaves, feta cheese, tomatoe and gurkins.  I then add a little sweet pepper sauce on top and wrap it.  Easy, peasy.....and so much cheaper! 

project 87....wax seal your bottled preserves....

This is a tip rather than a project....I wax seal my preserves as it protects them from forming  mold.  Even if your lid does not seal properly, if you have wax sealed it, it won't go off.

I melt white candles on the stovetop in a tin can, and then pour the wax over the jam or preserve.  The only prerequisite is that your preserve or jam must be cold totally.  And it does not work if it is watery. 

This way I have kept bottles of jam safe for much longer than the unwaxed ones.  Just be carefull not to burn yourself as the wax can get very hot.  Use a oven mitten!

project 86: sweet potatoes with a nutty crust

My red head's favourite!  He'll finish the bowl.....does not matter if it was made in an oven dish and half of it is still in the pan.....he'll finish it!

I must admit, I like it as well, and it is a great side dish when you have a lot of people.  When I got this recipe from a friend many years ago, she said it can be eaten as desert with custard as well.  We however could never get to the point where veggies can be eaten as desert!  Although it taste like desert!

Mix together 750 ml cooked smashed sweet potatoes, 250 ml sugar, 125 ml milk, 30 ml butter, 3 ml salt, 2 eggs and 5 ml vanilla.  Place in an oven dish.  Now mix together 250 ml brown sugar, 80 ml flour, 250 ml crushed peanuts and 30 ml butter.  spread over the sweet potato mixture and bake for 35 minutes at 180*C.


Divine!

project 85...............making a corsage...............

One of the elderly ladies in church brought me some offcuts of organza a while ago.  I decided to make corsages from it to use the different pieces together.

I cut a template of a flower pattern from card board, placed a few layers of the different materials on top of each other, and cut a few flowers.  They did not need to be the exact same size, as you move them around anyway for the leaves to overlap.  I then sewn it together in the centre and added beads, buttons, or sequins.  I added a piece of ribbon and lace to some at the back, and then added broach clips, and hair elastics to others.  I use these to zoosh up a garment, a hair band or simply to a gift wrapping......easy, cheap and hundreds of uses!

project 84......chocolate no bake cookies

My youngest sometimes has a go in the kitchen!  He can read a recipe well and will definitely survive if I am not around......if he can get to the stove or the fridge, as he does not like to clean up after his experiments!

The other day he wanted to make something again, so I gave him this recipe, as I could not see myself cleaning up a big mess......I really did not feel like having a mess around me!

I got the recipe from a magazine some time ago, but it did not work out the way it was published, so we adapted it!  We made it again...our own recipe now.....it works well, and the brothers liked it too!

It makes about 48...and we got 48!  That was now after adding eggs, more coconut, etc!  If it was not for the extras, the 48 would be a little far to reach!

500ml sugar
60 ml cocoa
125 ml milk
120 ml butter
75 ml peanut butter
2 eggs
5 ml vanilla
500 ml oats
500 ml coconut

Mix the sugar and cocoa.  Add the milk and butter and bring to boil.  Allow to boil for 2 minutes, then remove from the stove top.  Stir in the eggs while it is still hot.  Then stir in the peanut butter and vanilla.  Add the oats and coconut.  Make little heaps on wax paper and allow to dry overnight before placing it in the cookie jar. 
I made the flat ones and my son the heaps...the heaps are more popular!

project 83...............sweet potatoes with orrange..............

The other day my sweet potatoes were not enough for our family, so I thought of something I always wanted to make, but just never did.......sweet potatoes with orange.....but I did not have a recipe, but I improvised....it was so tasty, the kids told me to remember what I did, because they wanted it again in the future!  Not often I get that response!
I sliced my sweet potatoes in thin slices, and melted butter in a frying pan, and then fried the sweet potatoes until almost done.  I then added some brown sugar, ginger and a couple of sliced oranges and cooked it until done in the orange juice.....it was really tasty.....I had to make it again a couple of nights later!

project 82'''''''''''''''''''''''crochet scarve'''''''''''''''''''''''''''''''''

I made this scarf from leftover wool.  I had little bits of three colours left and the scarf just happened......

I started by making flower motifs.  After playing around with them, I decided to make a scarf.  I was not sure if the wool would be enough, so I crocheted rectangles to add in between.  I've sewn some flowers in a rectangle, sewn a flower rectangle onto a plain one, then another flowered one, then a different plain one....repeating the pattern to have both sides the same.  I then gave it some tassells to end it off.....

I had so many compliments on it and one of the elderly ladies in church even borrowed it "to get the pattern"!.  She then made some that she sold to a boutique in the neighbouring town! 
You can use your own favourite crochet pattern for flowers, or just get one from the net!  Fabulous way to use up little bits of wool! 

Project 81****************cooking marmalade************

This has a little effort to it, but it is worth it.  Real good marmalade......even the boys love it!

My mom brought me the lemons as I told you in an earlier post.  I start working my next week of night duty tomorrow night, so I had to cook them!

It is always good to use the freshest lemons you can get to get a better product.  I used older lemons before, and it was a total mess.  It just did not want to thicken.  That's the reason I had to cook these ones, as they were still fresh!

Use 12 lemons and weigh them.  Then weigh the same mass in white sugar.  Cut your lemons in half and press out the juice.  Place the peels in a pot, the juice aside and the pips in a third bowl.  Cover your pips with 250 ml cold water and allow to stand on one side.  Cover your peels with water and cook until soft. Use a match to test it by pressing it into the peel.  If it makes a hole easily, it is done.  Remove from the heat and pour off the water.  With a spoon, remove the albedo.  Then cut the peels in thin strips.

Now heat your juice, sugar and the water from the pips and allow to cook a little into a syrup.  Then add the peels, and cook quite fast until it thickens(soft ball stadium).  Remove the foam if necessary and stir every now and then.  Switch off and allow to cool just a little.  This will assure that when you bottle the fruit will spread evenly and not lie on top.  Bottle in warm sterilised jars.  Allow to cool and put the lids up.  I used wax to seal it, but it is not necessary.

PROJECT 80: LEMON BISCUITS

These are nice!  They melt in your mouth......when my lavenders have flowers I am going to try the same dough with lavender.......

I got the recipe from the net somewhere some time ago.  On Saturday my mom blessed me with a bag full of lemons, so I had to try this one.  The original recipe said....lemon melting moments....decide for yourself....

You will need:  200g margarine/butter, 1/4 t salt, 1/2 cup icing sugar, 1 1/2 cups flour, 1/2 cup maizena, 1 t vanilla, zest of one lemon......Mix everything and roll small balls, press them down with a fork and bake for 20 minutes @ 150*C.

Let them cool properly, and then mix 1 cup icing sugar, 50g butter and juice of one lemon in your mixer.  Stick two cookies together with the icing in between.  They say on the original recipe that the cookies can last for 5 days in an airtight container.....can not prove that one though as everything in this house only last till the next morning....if we are lucky!

project 79........planting propagated plants out in the garden.....

Springs here and the day has come to plant my propagated pellargoniums out in the garden!  It is recently quite warm and both my husband and myself find little things to do in the garden.....He gave the wooden poles between the palisades a new coat of waxol and I transplanted the plants....

I loved them in my kitchen window and was quite sad when they had to move outside!  The other day I bought some pots and would have loved pottery ones, but it did not fit the budget!  Waiting for the last bit of cold to pass, the pots watched me from a corner.....I could not wait to foll them!  Sadly the pellargoniums had to move out.....

I bought some compost and good potting soil......my own compost heap was flooded with the recent rains, and I'll have to make a plan there.....Filled my pot, planted the pellargonium in the centre and some petunias around the edge.....I'll show you what they look like in a couple of weeks, but look at them now!

Project 78....making a paper birdhouse

The other night at work I unpacked the new stock that arrived during the day.  For one or other reason I don't know why I always get the unpacked stock......we are a whole department and I am usually the one to unpack the stock!.......Sooo frustrating!.....

Well, busy unpacking I saw all the empty boxes.....and four o'clock the next morning when it was difficult to keep my eyes open, I built a cardboard box birdhouse or two, using masking tape to put it together.....

The next evening I packed modge podge, paintbrushes, newspapers and fancy gift wraps.....I was so busy that I could not even touch a thing.....

Eventually later in the week we had some quiet times round about three o'clock so I finished it off....with the aircon the modge podge dried very quickly and my house was done in a jiffy.....

I covered the whole house with newspaper, and then stuck some giftwrap all over showing pieces of newspaper.  I then cut letters from the newspapers and formed some words.  To add the last bit, I cut a bird from a newspaper, stuck it to a piece of cardboard and stuck the bird in the door....I then modge podged the whole thing a few layers....and that's it!  

 My husband did not like it, but I thought it is pretty cool...... 

project 77.....easy home made pies from leftovers

I don't waste!  Especially not food!

The other day my middle son said that he thought that our family is most probably the family eating the most leftovers disguised as something else.  And I think he is dead right!  Leftover veggies pureed in the food processor does not change the taste of stews and soups or cottage pies or anything for that matter.....it just adds extra vitamins to the dish without anybody knowing it!  Leftover meat and potatoes makes a great fritatta for breakfast if some onions, green peppers and mushrooms are added....leftover mixed veg added with leftover mash makes great potato cakes the next evening....the possibilities are far more than just a bowl of leftovers......

I think it is just the way I was brought up....My father passed away early in my life, and my mom raised four children all by herself......we did not waste!

Now you have used your leftovers in a stew.....and now you have leftover stew.......what do you do with it!  Make pies!  And I promise you, you won't have a problem!  Teenagers love pies!

I used shop bought puff pastry.......no effort......cut rectangles and simply fold them over!

I paint the pastry with egg.....then fill it.....fold it over.......press the sides together with a fork  to close it up......paint the outside with egg.....make a small hole in the centre for the steam to escape.....bake for 20-25 minutes at 180*C.......and voila.......the easiest pies.....filled with leftovers.....!

Tuesday 4 September 2012

Project 76.......birdbath!

I looked all over for a birdbath with no success!  Our town just did not cater for wild birds!  So I had to make a plan.....

We had this old basin in the garage that needed to go to the rubbish dump long time ago, but for one or other reason was left behind......I geared my husband up to dig a hole and sunk it in the ground.  I've planted some assyliums(hope it is spelt correctly!), lavender and rosemary around it and placed some stones around it.  I then plugged it and place a large stone on top of the plug for the birds to sit on.  I've cleaned it twice by simply pulling the plug!  The little bit of water wasting in this way is good for the tiny plants around it.  In a month or two the plants would have grown, and I'll show you what it looks like.  I believe the sides of the basin will be filled up, and  hopefully only the bath will be seen.  If not, I'll place some moss and more stones to the sides.

My husband was so pleased that he made two rusted flowers stand in the holes where the taps were suppose to come out.  I would not have done it like this, but we can not always win!  And there will be a day in the future where I'll be able to remove them without him noticing!

A good tip is to look around at what you have before just buying.  Many a time you could change something into totally something else with a fraction of the cost of what a new product would cost.

Post 75*********coffee pork chops*******

My children's favourite pork chop recipe!  I have been making this for years, and if you leave it up to them, this will be the only way for pork chops to be cooked!  But I must admit, it is quite a nice sauce!

I save leftover percolated coffee for this recipe, but have used instant coffee before, and it works as well.  But why discard leftover percolated coffee if it can give you a great pork chop?

Place your pork chops in an oven pan.  In a separate bowl, mix 2 cups of black coffee, 1 tsp ginger powder, 1/2 cup brown sugar, 1/2 cup apricot jam and 20 ml maizena.  Pour it over your pork chops and bake it in your oven until done.  I sometimes put some foil over it for a while, this way your sauce does not dry out too quick, but it is not necessary.

I think I should try this sauce with chicken some time in the future......wonder why I never thought of it before?

Project 74....making a small heart cushion for your doorknob

After I made my scrap material bracelets, I had some of the material left, and decided to make a heart out of it, as it seemed the pieces matched each other well.  I've cut three hearts-one of every piece of material, and the tops slightly different to make uneven hearts.  I then cut each one in half and the other halves in different halves again.  Just make sure that you cut the right side of each half so that you will have a full hart with the front sides facing you.  I've cut separate pink hearts for the backs after I had sown them together, as they were not symmetrical.

Now sow them together and 'pretty' them up with lace, ribbons and whatever.  Sew the backs unto it and fill it with filling.  Remember to sew a ribbon or a piece of lace to the top to hang them.  Quick and easy, and it did not cost me anything!  Can be a good pincushion for a grandmother as well!

Project 73....prevent your food from boiling over

This is actually a tip.....and it really works!  So I need to share it with you, as anything that saves you time in the kitchen, needs to be passed on!  Especially if it can reduce your time on cleaning the stove top!

To prevent your food from boiling over, simply place a wooden spoon across your pot!  No spilling anymore!


I did not believe this when I saw it on pinterest, but it truly works!  I even grabbed my blackberry to take a photo of the evidence!

Project 72........mealie meal braai dish

As I told you before, we love braaing(BBQ) in South Africa.  It is always a question on what to eat with your meat....See....meat first..... and then something else! Most of the options normally have a starch or two!  Really unhealthy, but that is just the way we do it!

This is a nice version of the old 'pap and meat' that you always get.  When we grew up, 'pap' was eaten for breakfast only. My parents were both from the eastern cape originally, and you would never think of eating 'pap' at any other time than breakfast.  So we moved to the then called Transvaal, and not only did they support the blue bulls up here, they ate 'pap' with braais!  My mom still does not eat 'pap' with braai, but she will eat some of this dish.

Cook your mealiemeal porridge on the stove as usual.  It must not be too soft, neither too firm.  You can also do it in the microwave if you are familiar with it, but I found the coarse meal cooks better in the microwave than the fine ones, and the last thing you want is lumps of raw meal!

Then in a frying pan on top of the stove, fry some onions, a packet of bacon pieces, green pepper, garlic and mushrooms, seasoned with salt.  Add a tin of tomato and onion mix.  If you feel like it you can add a tin of sweetcorn to you porridge, or you can use some of those instant 'pap'-mixes we get here in South Africa to your boiling water whilst making your 'pap'.  It is basically a savoury mix that just season your 'pap'.

Place half your'pap'(porridge) in an oven dish, then third to half your onion mix on top(depends on the size of your dish), then cover with some grated cheddar cheese.  Repeat your layers 2-3 times, ending with your cheese layer.  sprinkle with paprika and bake in a preheated oven until cheese had melted.

PROJECT 71.....SWEDISH THUMBPRINT COOKIES

These are the easiest cookies I have ever made!  And they are good as well!

This morning I was busy preparing for my weekly cookie baking session.  My son is at home today, as they are busy writing matric trial exams, and he is not writing today.  He then requested that we try something different, as I opted for custard cookies and he does not like custard.  So the two of us went to google and just opened the first page with cookie recipes.  Paging through some recipes, he asked why I don't just do the first one on the cover page.  When I opened the recipe, I could not believe this was the only ingredients!  I then read the reviews, and for sure.....this was all it needed!  I had to try it!  My son and hubby were both impressed, and I am sure I'll make these again!......The only problem......the original recipe said it will make 72 cookies......I only got 60, and they were minute!  Next time I'll make them slightly bigger, but then I'll probably have 36 only!

Preheat your oven to 190*C.  Mix 1 cup of butter, 2 1/2 cups of flour(the original recipe had only two cups, so decide for yourself) and 1/2 cup of sugar.  Roll small balls, and press it down with your thumb to make a slight hole in it.  Do not press too hard, as it cracks easily and the jam just runs over it.  Now place 1/4 - 1/2 tsp of your favourite jam in every hole.  Bake for 15 minutes.

Ever seen such an easy recipe?  It is worthwhile trying it! 

project 70........bracelets from scrap material

You get different versions of these all over Pinterest lately, but I have made some with scrap material, and was quite impressed with the outcome. I made the first two at work whilst having a quiet time working night duty......and somebody wanted to buy them!  Can you believe it!

Well, I made four with different materials, but made it to match one or two of the others so that I can wear them together.  I wore the blue one with a pair of jeans the other day, and thought it was quite nifty for a piece of scrap material!


I used a piece of  string and tied it in a circle.  I then cut ribbons of the scrap material and used a large sewing needle to string the material around the string.  When I came to the back, I used a needle and thread to secure the material.  I then started securing the beads with the same piece of cotton.  I filled the centre leaving a small gap for a button.  I then took another piece of material and covered the first piece of material to give it a neater look.  I secured it at the back again by sowing a few stitches through the material, and then sewn a button onto it to fasten it.  Easy as that! 

Project 69........savoury rice

This one saved me many times before! It's easy, looks good and tastes fantastic!  It can spruce up any ordinary meal, without much effort!

Fry a diced onion or two and a diced green pepper or two in a little oil until cooked.  Remove it from your pan with a slotted spoon, and throw in some uncooked rice.  Fry that now in the same oil until it is brown and the rice looks like small popped rice.(My son says it looks like maggots! Sorry to mention this, but it will give you an indication what it is going to look like after frying the rice!  PS. I am a nurse and I think nurses can handle comments like this!)

Take your pan from the stove and pour some water in.  Now add your onions and green peppers again, as well as two chicken stock blocks and a nice heap of crushed garlic.  See that you have adequate ventilation, as this can cause some smoke if your rice is very hot still.  Cook your rice without a lid until soft, and season with seasoned salt.  We use Aromat in South Africa, but it will depend on what you have.  I ran out of Aromat before and used normal salt, and it was just as good, but I do like the Aromat taste more.......

Monday 3 September 2012

project 68.......propagating a plant

I've tried often before to propagate lavender cutlings, but with no success.  When we moved to our new house, I decided to try again.  I also made cutlings from my many pellargoniums, as I love them.  I am sure I was made to live in the meditiranium.....my other favourite is rosemary......
 

Each and everytime I cut a sprig from my rosemary plant to use for cooking, I just push the tip of the sprig in a potplant in my window sill.....and they just grow!  I have given so many gifts of rosemary plants over the years!  And I think I have about ten going on the patio and the windowsill now at the current moment!

Well, before moving to the new house, I made cutlings from the lavender and the pellargoniums and nursed them on my kitchen windowsill throughout the winter.  I simply drowned the stems in water, then dipped them in hormone powder and planted them in pottingsoil mixed with a little compost.  

Look how lovely they are!  I have already planted some of the lavender in the garden, but am waiting a little on the pelargoniums, as it is very dry at the moment, and although they can survive drought well, I do not want to plant them out in these conditions.  I even noticed some flowers starting as well!.........cheap and easy way to plant your favourites!    

Project 67.....planting a punnet of pansies for spring

It is spring......officially......so I get really excited about working in the garden.  Unfortunately we had a very dry summer and water restrictions are called for during winter.  So we are not allowed to water our gardens, except if we are prepared to pay a fine.  Living in a pastors house the budget does not allow us to pay unneccasary fines....

So we don't know what we have in this new houses garden, and it therefore makes it very difficult to plant anything in the current flower beds as nothing has started growing yet.  We water with our recycled water, but I don't think it is enough.

During winter I planted sweetpea seeds in my hanging baskets.  In all my years of gardening I never had any success with sweetpeas!  So I got a packet in a gardening magazine(a local one called 'tuinier' that I spoil myself with every month) and I attempted planting them again!  This time in hanging baskets!  I already saw my beautiful sweetpea flowering baskets for spring day!  No success!  The photos of the flowers must go in for the competition already, and I have one feeble sweetpea plant from all the seeds! And it was springday!......so I went to our local hardware store and bought myself a punnet of pansies specially for spring day!  And I planted them in the sweetpea baskets! 

So go out and buy yourself a small tray of pansies for spring and brighten your day!

Project 66.......undescribably caramel bread

I love to make this bread, as you don't have to beg anyone to finish it off!  Even that one one a serious diet will take another piece!  I always have to make it when my brother and his wife are coming for a braai, and she has a super delicious potato dish she normally must bring.  I have tried making the potatoes, and she has tried making this bread, but it is just not the same!  But imagine all the starch eating this together with the potatoes!  But we still do it!

On Friday night I made the bread when the boys were having braai with their friends.  I passed the deck in time to catch one boy taking another two pieces for the so manieth time!  He started laughing and said:"This bread is indescribably nice!"(I made it double for the occasion!)

This is so easy I almost don't want to share it!

You will need a packet of bread dough bought from your supermarket, 250 ml fresh cream and 200ml brown sugar.....


Make small balls out of your dough....almost the size of a small apple.....place it in your roast dish.......mix the cream and the sugar and pour it over the dough......allow to rise to double the size.....bake it with the lid on for about 20 minutes at 180*C.....take your lid off, and bake for another 5-10 minutes.  Do not allow it to brown too much, as it dries out the caramel.  Put your lid back when you remove it from the oven.  Enjoy!  I am sure you are going to make this one over and over again!  

Ps! The top photo was taken by candle light and did not work well.  The bottom one blurred a little, but you do get the idea of the caramel sauce on the side....

PROJECT 65: BBQ SAUCE FOR BRAAI

We love to braai in South Africa!  We as a family used tobraai on Sundays after church during summer, but now with the new house having an indoor braai, we braai throughout the year.  And every other occation that needs to be celebrated except Sundays, we braai as well!

It was my son's eighteenth birthday yesterday, so on Friday night he had a braai with his friends.  Saturday was officially springday in our part of the world, so the church had a springday braai yesterday.  Seen that we spent most of our day at church yesterday, we had another braai with the boys last night!  Neddless to say....I've picked up the kilo I lost last week!  And it was very difficult to get up for gym this morning!  But we are keeping it up.....one of these days I will change my display pic!  Just watch out!

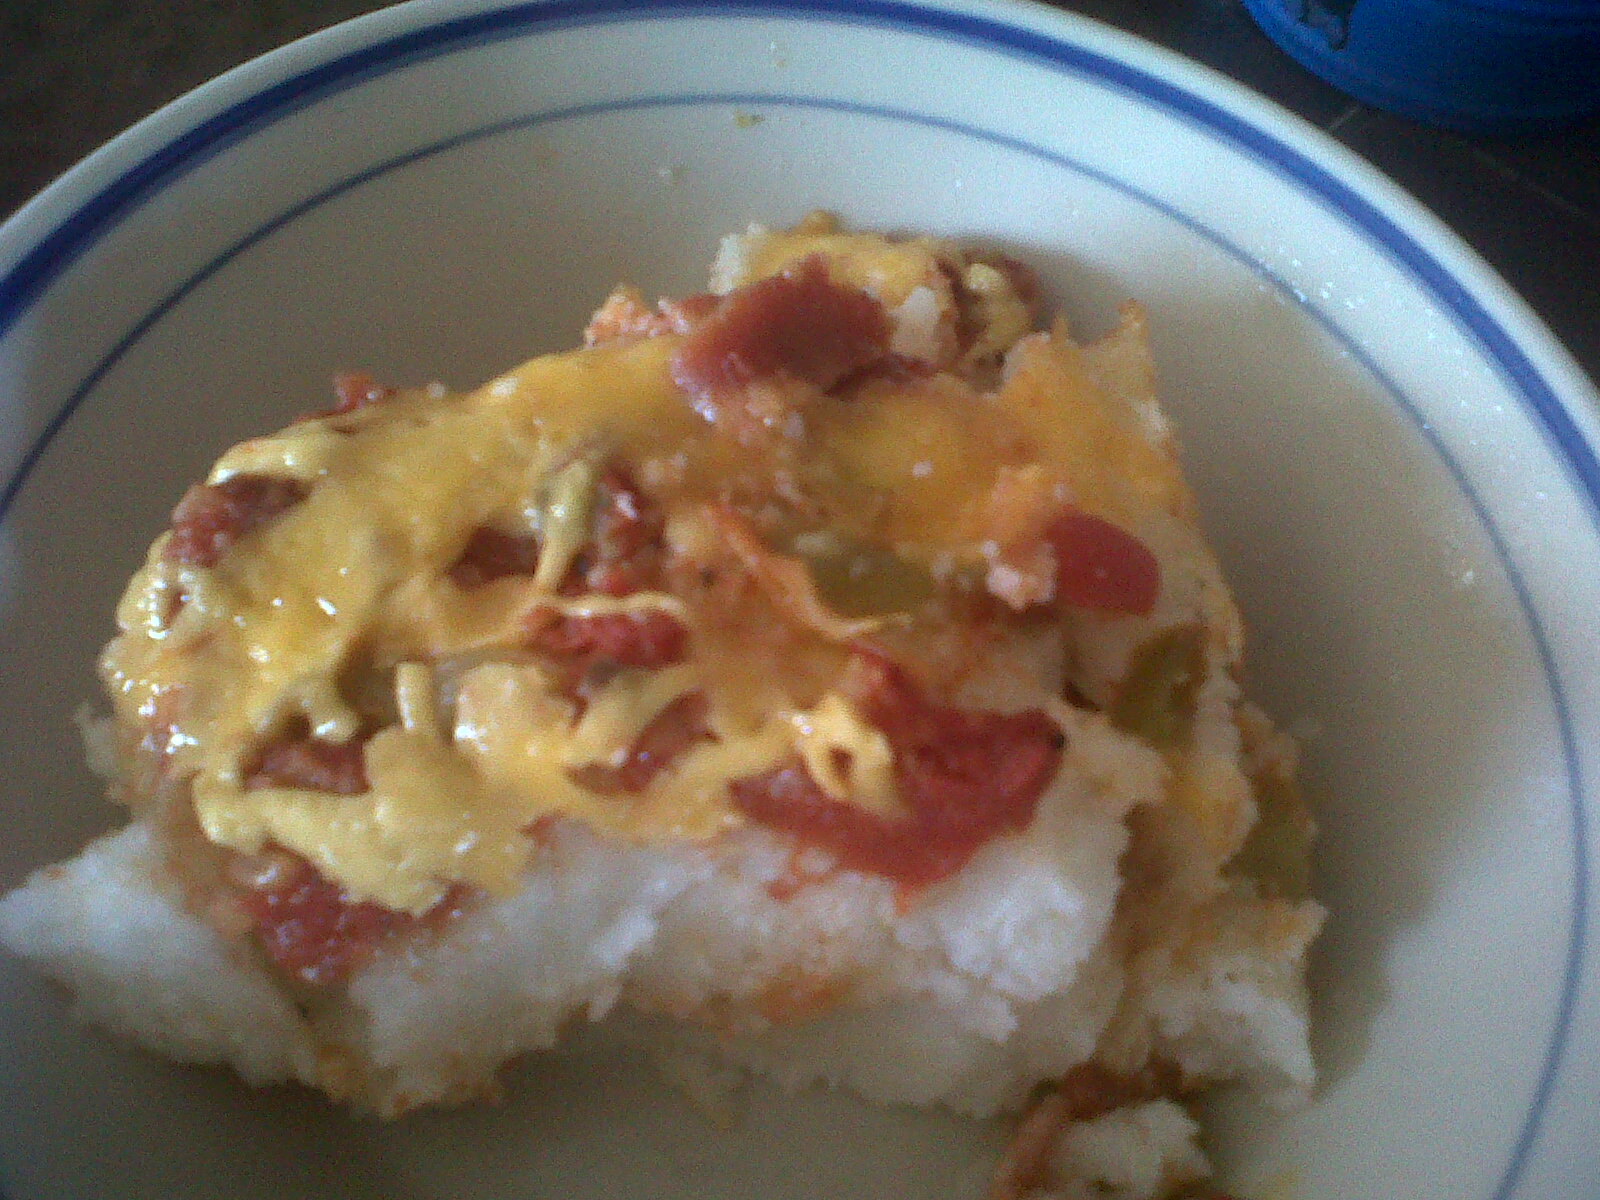
Last night I made my own version of Jamie Oliver's BBQ-sauce.....sorry Jamie!  As I said before I am a Jamie Oliver fan! So I at least have to give him credit on his recipe!  I've changed it though to what was available and now I make this version.

You will need:
1 heaped tsp cumin seed
2 heaped tsp fennel seed
5 cloves
coarse sea salt to taste
5ml freshly grounded black pepper
a bunch of fresh thyme
a twig of fresh rosemary
50 ml lemon juice
1 whole bulb of garlic-crushed
2 tsp paprika
90ml balsamic vinegar
120 ml olive oil
150ml tomato sauce
10 bay leaves

Mix everything and marinate your meat for two hours or more in the sauce.  I love to do chicken and pork with this sauce.  When you have your meat on the coals, simply paint the sauce onto it every time you turn it.  Give it a last stroke of sauce just before you remove it from the fire.  Yumm!

I do not normally have sauce left, but it happened before.  I simply placed it in the fridge, and used it the next night flavouring mince....Yumm as well!